 Black Friday is here 🔥 Get

Trial ending
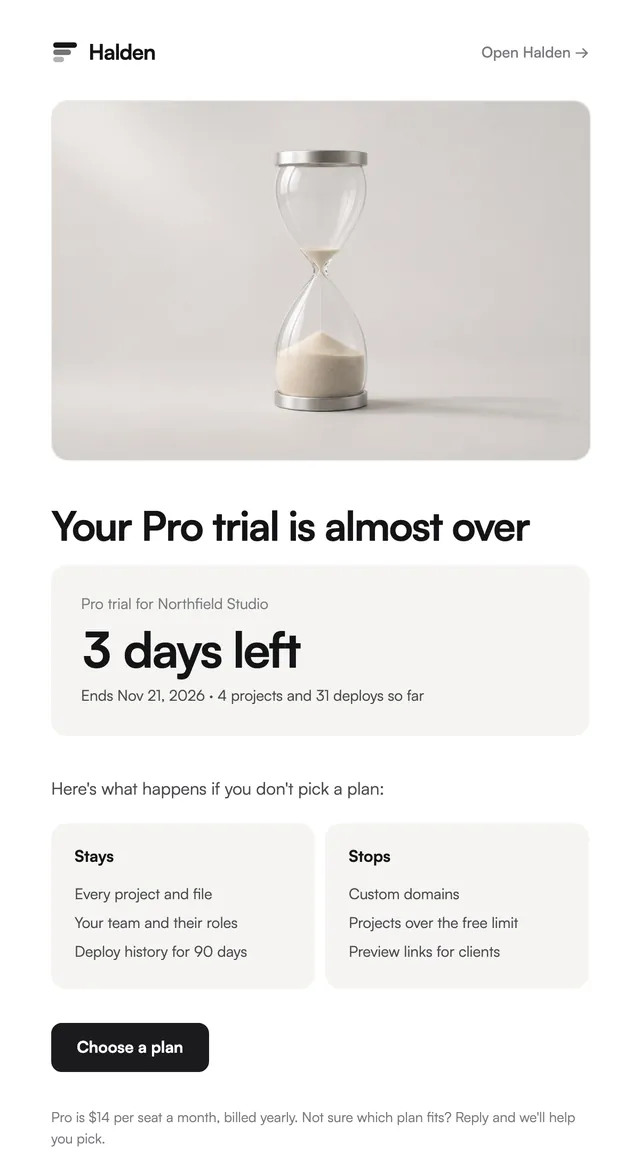
LedgerA trial countdown with what stays and what stops.
Invites to a workspace or project, in three styles. Who asked comes first, then what you are joining.
An invite from a stranger is easy to ignore, so each of these leads with the person who sent it before naming the workspace. The facts follow on hairlines (workspace, members, projects, role, or the boards on a creative project), then one accept button and the date the invite expires. The Grove version shows the team list in a picture, and the Vellum version is the client-side invite a studio sends to a reviewer. Inviter, workspace and role are props, so one template covers every invite your app sends.
These 3 templates are part of the 65 React Email templates that come with Wensity Pro. Each one is a single file built from React Email components, with a kit for your brand, and installs with the Wensity CLI or the MCP server.
Run the following command
pnpm dlx wensity@latest emails add grove/team-invite
npx wensity@latest emails add grove/team-invite
yarn dlx wensity@latest emails add grove/team-invite
bunx wensity@latest emails add grove/team-invite
The email lands in emails/grove/ next to the style's kit.tsx, where you set your brand, colours and links once. It needs Wensity Pro and npx wensity@latest login.
Render the email to HTML with render() from React Email, then send it with Resend, Nodemailer, AWS SES or any provider. The data that changes per send is a typed prop.
import { render } from "react-email";import Email from "@/emails/grove/team-invite";const html = await render(<Email {...props} />);

Parth
Founder, Wensity
Still have a question?
Ask about plans, licensing, or templates and you will hear back from me directly.
Email hey@wensity.com